

Day-37 Basics Git Commands (Practically)
Git commands in use

DevOps Engineer | Community lead at HackClub PYPRO
Okay, so the theoretical stuff is over; now let's get our hands dirty with Git commands. I will cover most of the Git commands in a single practical.
Prerequisites
- Create a Github account
- Install Git on your local machine. ( Checkout previous day36 blog for installation process)
1: Create a Github Account
To do this practical, you need a Github account. It is a code hosting platform for collaboration and version control. It is not the only one available on the market.
Here are a few alternatives:
2: Create New Repository
After creating a Github account, create a new repository and name it as GitDemoRepo. It is up to you whether you want to make your repository public or private. I am making it public so that everyone has access to it.
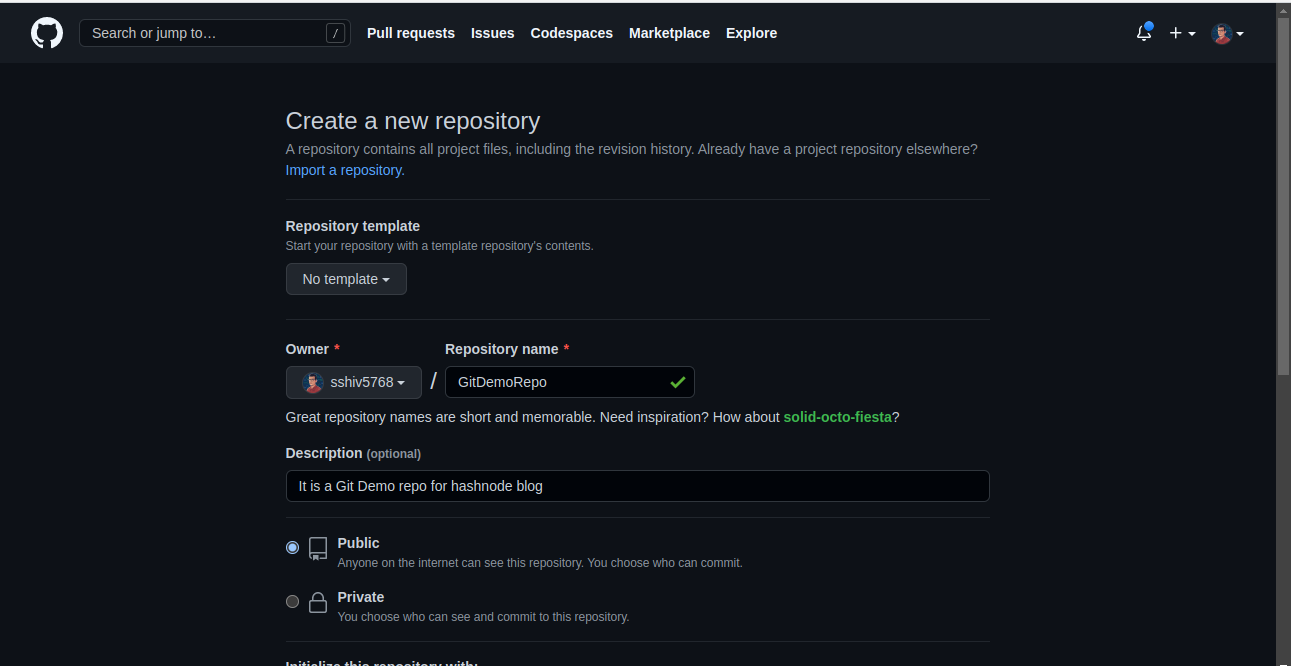
If you want to give a long description of your project, you can do that using README.md file. It basically shows how project works, steps to use this project, project use-cases, etc.
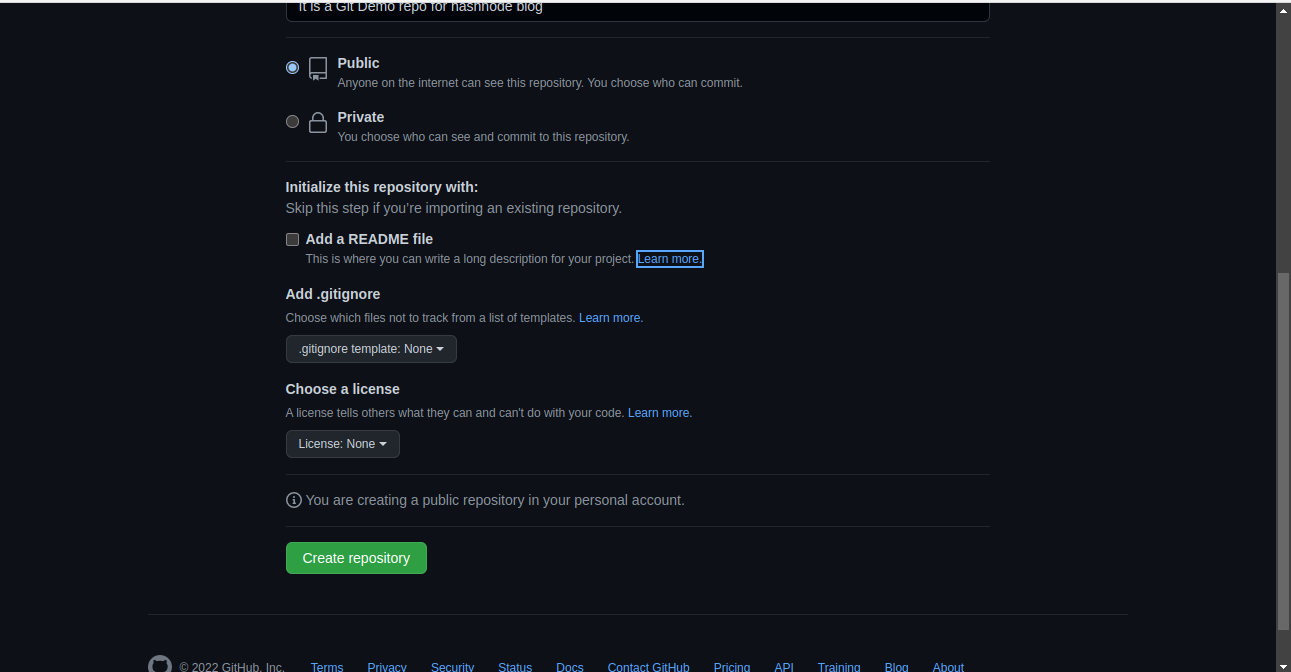
I added README.md file with a few description lines.
3: Clone the Repository to Your Local Machine
In general terms, "cloning" means making a copy of the original repository on your local machine.
If you're a Linux user like me, then you can directly use Git in your terminal. But if you are a Windows user, you would have the option of using Git Bash terminal. We will use git clone command to clone our remote repository to our local machine.
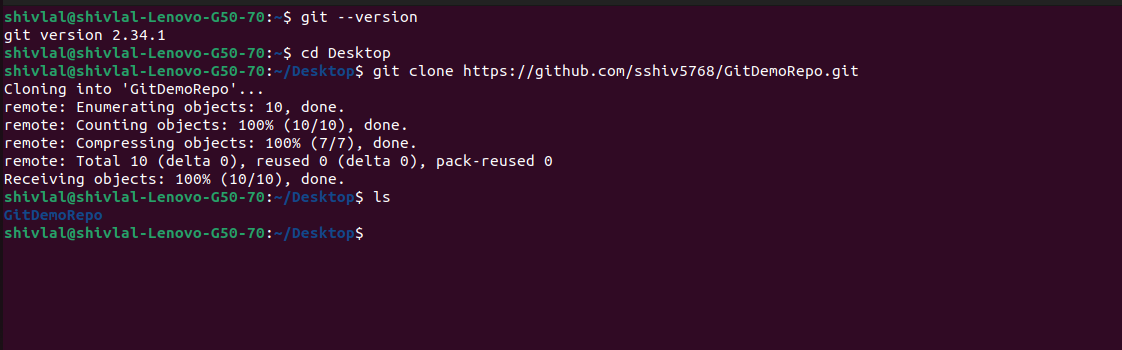
First we ensure that Git is properly installed or not using git --verison. I want to create this cloned folder on my desktop, so I am changing the current directory. Now type git clone <repository_url>
The repository URL can be found by clicking the code button on github.
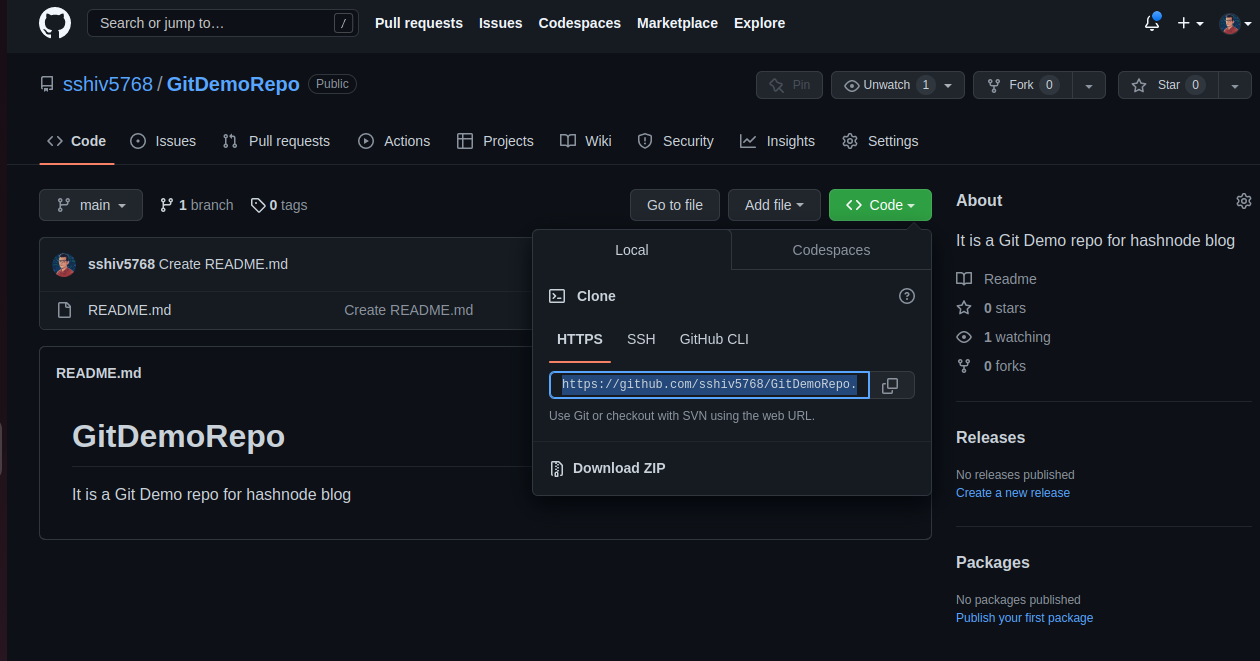
Copy that https path and run the command. Once your local repository has been created, check it. Here, I don't need to use git init because this folder is already initialized as *git repository. Do you want to double-check? type git init

It says it is already initialized, and it will reinitialize it.
4: Make some changes in the local repository.
Now it's time to make some changes in the local repository and append those changes to the remote repository.
I am going to create a new file p1.txt in GitDemoRepo using cat command. In Windows, you can do it directly by just going into the folder and making a new text file. That's it.
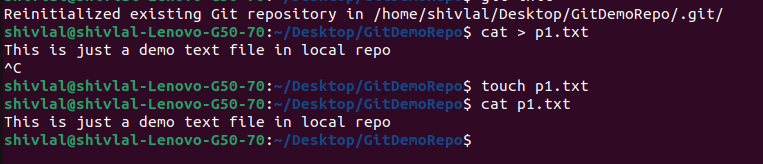
Now let's see the repo status by using git status.
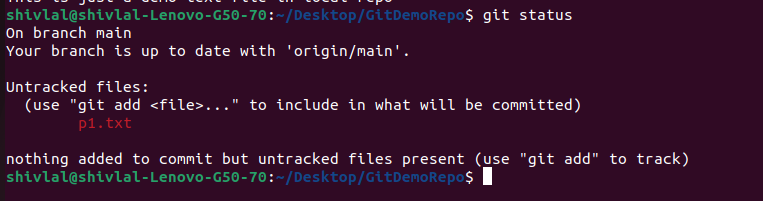
It says my current local repository branch is main and it has some untracked files( which we just created). To add those files to the tracked code history, you need to type git add file_name.
5: Push your changes to remote repo
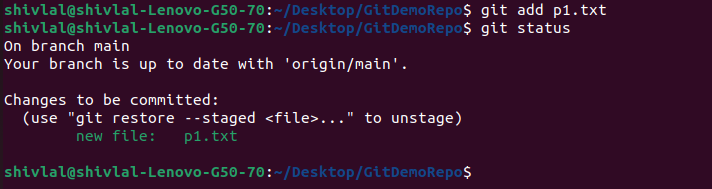
As we learned in the previous Day 36 blog, after using git add file_name your changes are moved to staged area. Now commit these changes using git commit and push them to the remote repository using git push.
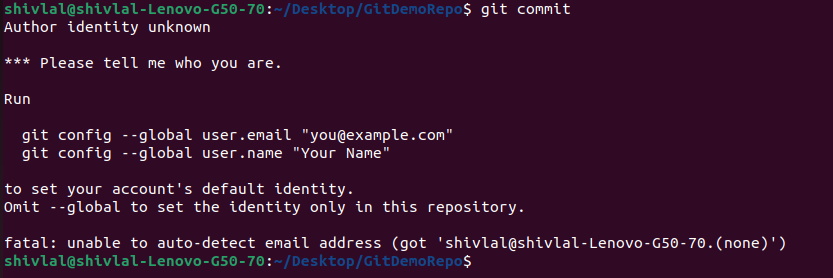
If I type git commit then it says that unknown author identity why it is showing that because git doesn't know who you are to identify you it requires your credentials. Which credentials ? The same one you used to set up your GitHub account.
Enter your GitHub account username and your email( the same mail that you used for GitHub). It will create a global user with these credentials. If you want to change the user, you have to provide credentials with git config.

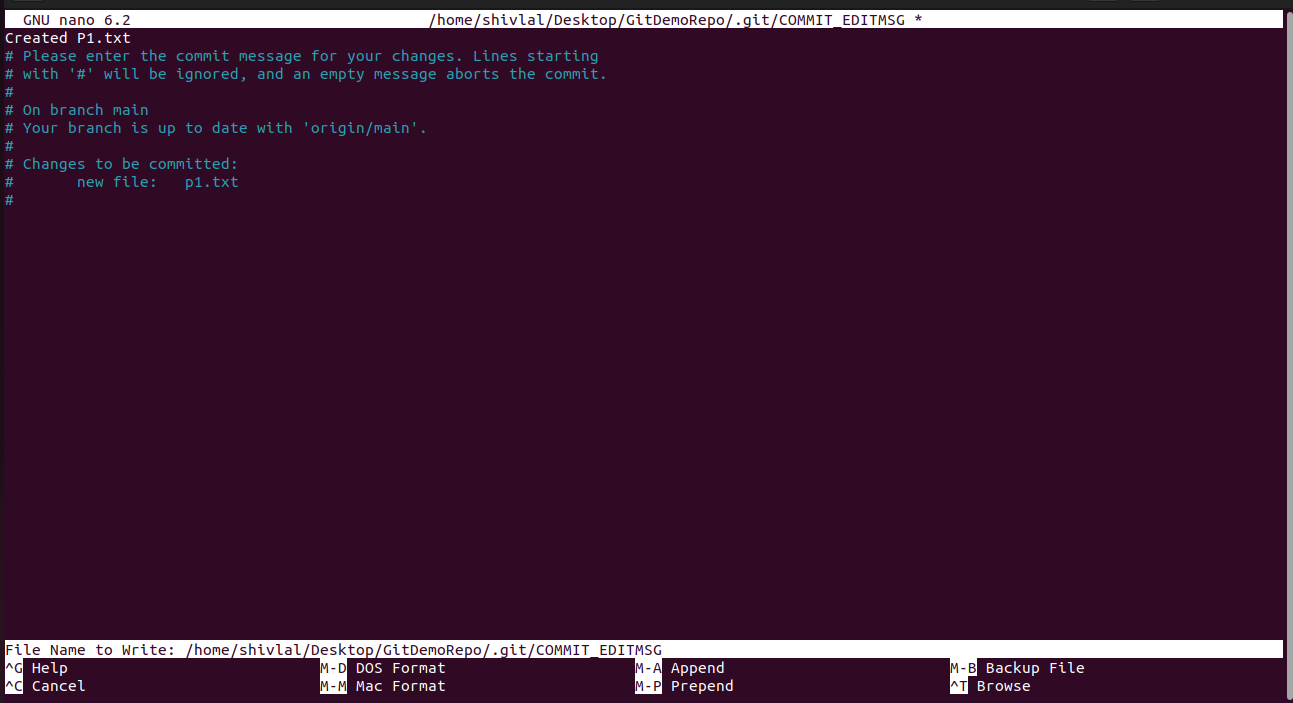
Now try git commit It will show a screen like this where you type the commit message and your changes are committed. (You can also see where your commits messages are stored.)

It's time to push your changes to the remote repository. Type git push. It will request a GitHub username and password. But there is one twist here: Github has removed password authentication in 2021, so you can't push changes with a password.
Now, to be authenticated in this process, you have to use a PAT (private access token) which you can create following the process mentioned in the first [answer].(https://stackoverflow.com/questions/68775869/message-support-for-password-authentication-was-removed-please-use-a-personal)
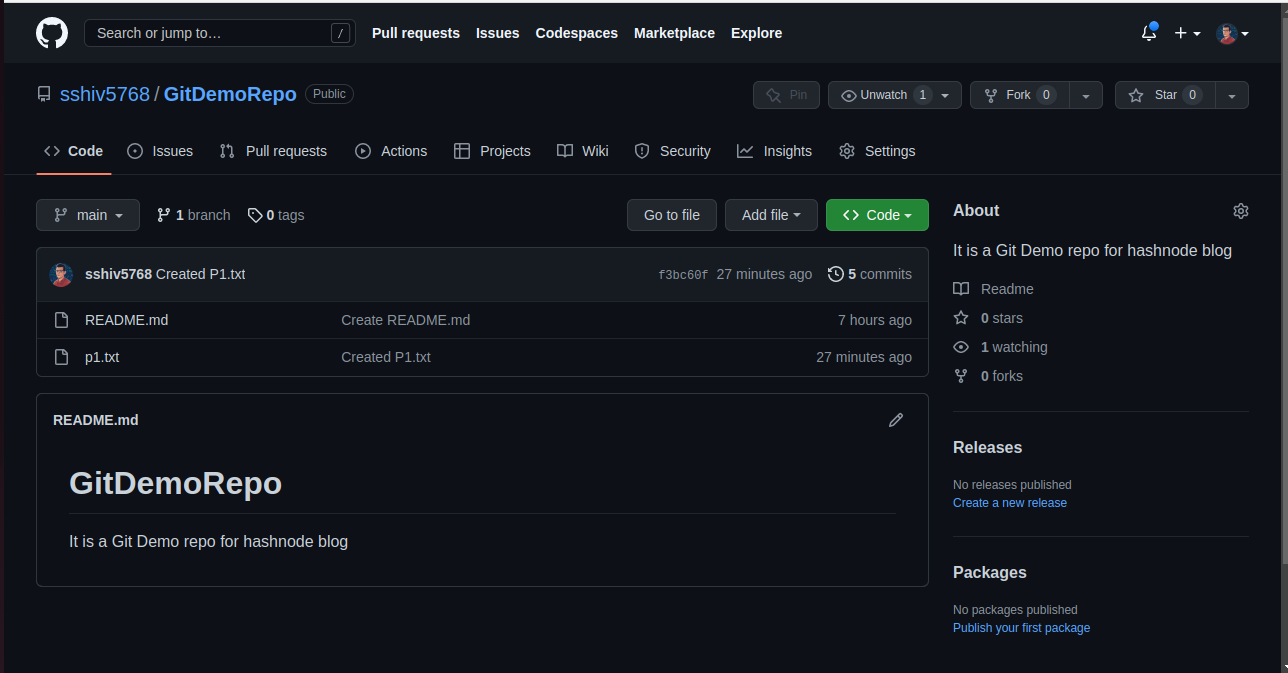
After creating and entering your PAT, your changes are pushed to the remote repository. Refresh the repository page and you can see your changes.

Whoo hoo! Congratulations! You've finished the Git basics.
Resources 📚
Ending Notes 👋
That concluded the introduction to Git commands with this small tutorial. We will also see similar git practicals in upcoming blogs. So until then, stay tuned.


