


Getting Started with Github-actions 💫
Introduction to CI/CD 😕
In early time when Git and Github-actions were not present, software engineers manually test their code and then depoly their project on production servers.
Later after if anything happens with the code like code broken or bug in the code then they have to face downtime with their website or app.
So that to get rid of this problem, CI/CD is introduced which means continous inegration and continous delivery. In CI/CD we create a pipline of autonomus tasks for our project like testing, deploying, etc.
There are various tools available in the market to create and deploy CI/CD piplines like Github actions, Jenkins, CircleCI, etc.
How to start with Github Actions 🚧
- Create a
.githubfolder in your project folder. - Create a
workflowsfolder in that folder. - If you create any
.ymlfile in that workflows folder then it will be considered as a workflow. - Let's create
test.ymlfile in that folder. This file is now considered as a Github action. - You can verify it by going to repository's action tab and you will see that new action is listed there.
YAML - Yet Another Markup Language 💻
YAML is a data serialization language that is often used for writing configuaration files. It is much similar like JSON, but it is more readable.
You can consider it as a superset of JSON which has easy syntax. There are no usual format symbols like braces, closing tags or sqaure brackets.
It uses .yml or .yaml extension.
We are going to use YAML for creating and applying logic for Github actions.
Objects in YAML
Same as JSON objects are also present in YAML. But creating a object in YAML is easier. Indentation is required while you create a object.
myapp:
    service: dapp-blockchain
    test: script1
Array in YAML
In YAML array syntax and working are same but with slight changes.
We use - to start a new value in the array.
myapp:
    services: dapp-blockchain
    test: script1
    array1:
        - key1: value1
        - key2: value2
Strings and Comments
For writing comments in YAML we use #.
# This is a comment.
myapp:
    services: dapp-blockchain
    test: script1
    array1:
        - key1: value1
        - key2: value2
In JSON we use "" to define a string but in YAML you can ignore it.
myapp:
    services: hello world
    test: script1
For multiline strings we use | symbol.
myapp:
    services: |
        i am shivlal
        let's do some good stuff
    test: script1
For more YAML specs you can refer to yamlorg
Let's Create Hello World Action 👨💻
Open test.yml file and type below code in that file. We will look into code's each part later.
name: helloworld
on: [push]
jobs:
  print-hello:
    runs-on: ubuntu-latest
    steps:
      - run: echo "Hello Contributor!"
      - run: echo "Thanks for pushing changes."
Now, let's do code breakdown. name as it suggest it gives you name of the workflow. Here our workflow name is helloworld.
Next one is on which asks you the name of Github event that triggers the workflow. Here i gave push as a keyword value so whenever i push changes it will perform some jobs.
jobs descirbes the jobs or tasks that your workflow will perform on mentioned Github events. You can define multiple jobs in this section. Each job will run sequentially one by one.
print-hello is our job_id. Each job runs in runner environment specified by runs-on.
Now define your steps that you want to run in this job. Here we want to print 'Hello Contributor!' so run: echo "Hello Contributor!".
As we discussed in YAML about arrays, here steps is an array so we used - to add multiple job steps.
Remember we use BASH commands to describe our steps in workflow.
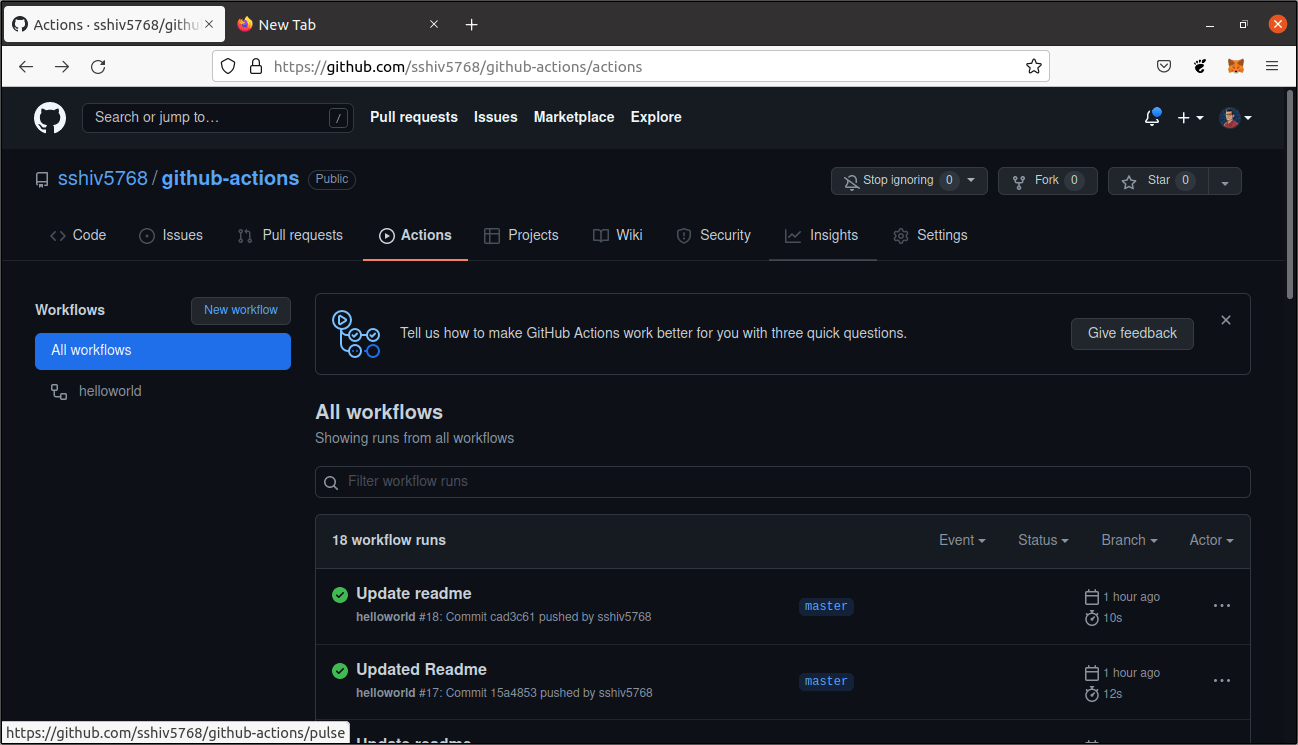
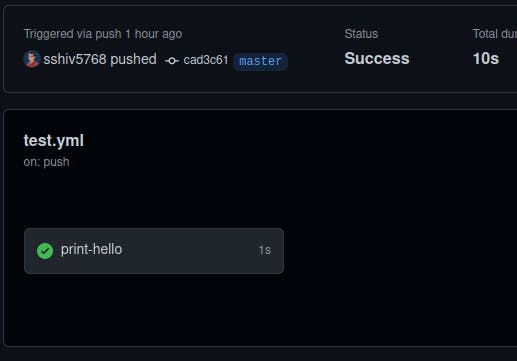
Now come back to your repo and go to your Actions tab. You will see a workflow listed there with :heavy_check_mark: and last commit name. Click on that and you will see print-hello job.
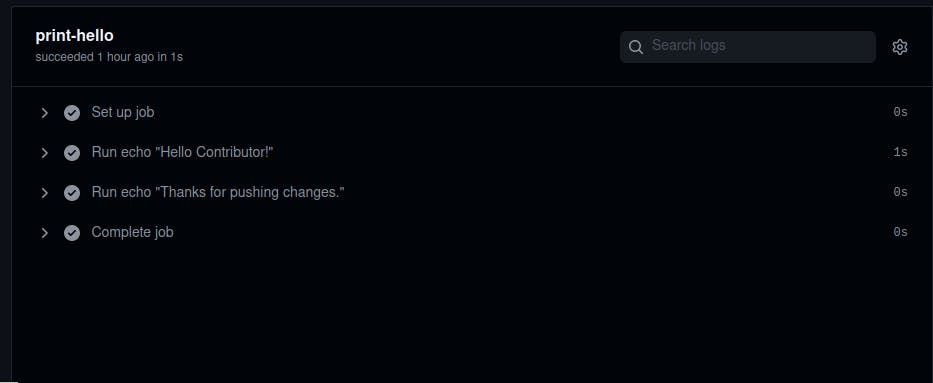
Click on that and you will see a list of steps completed after you pushed your changes. Your desired output is also there in second step.
Resources 📚
I am always open to share additional resources for better understanding. Checkout these resources.
End Credits 👋
And that's all you need to create your first Github action. You can check this link for your reference to workflow syntax.
For more such beginner friendly tutorials stay tuned😎